I considered myself as an autodidact. I learn things through peers, reading articles and numerous trials and errors. School has the tendency to prevent self-development, prevent us to evolve as a person. It seems our success depends strongly on how well we perform in school. Ever since I started graduate school, I have the freedom to explore new horizons - areas that are unknown to me, things that I always wanted to learn that are outside of my field of expertise (nanotechnology).
Being creative in cooking is all about applying your past experiences to create something original. Inspirations come from my travels to the UK, Singapore, South Korea, Hong Kong and within Canada. Inspirations also come from learning through friends where we gather together for cooking. Finally, inspirations come from numerous successes and failures in the kitchen. These experiences are both instructive and a source of inspiration for others.
 |
| Mango and Coconut Rice Sushi. Photo Credit: Hossein Ghayoor |
 |
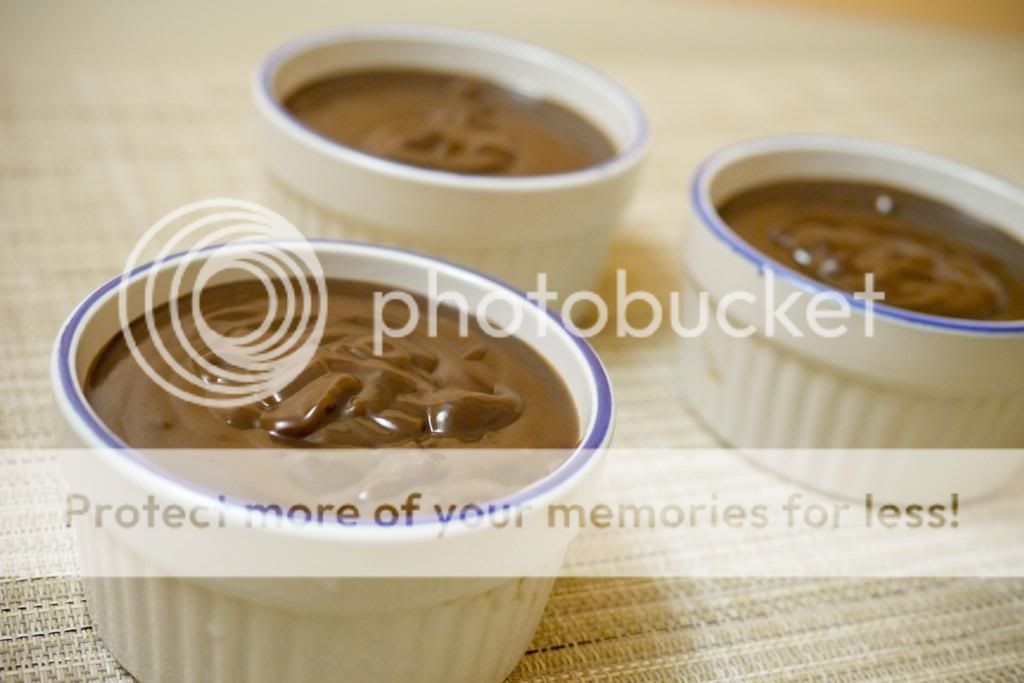
| Photo Credit: Hossein Ghayoor |
 |
| Photo Credit: Hossein Ghayoor |
Preparation Time: 30 mins
Cooking Time: 30 mins
Cooling Time: 2 hours + overnight
Printable Recipe
Ingredients
Modelling Chocolate
14 oz. chocolate pellets
5 oz. light or dark corn syrup
Coconut Rice
3/4 cup jasmine rice
1 can (400mL) coconut milk
1/3 cup white sugar
1/2 tsp salt
Fillings
2 figs, thinly sliced
2 strawberries, thinly sliced
Procedure
1. In a double boiler, melt chocolate pellets over medium heat.


2. Add in corn syrup and stir until thick. The mixture should not coat your finger.

3. Divide mixture into two, wrap it in a plastic bag. Cool at room temperature for 2 hours.

4. Meanwhile, prepare the coconut rice. Triple wash rice with cold water until the water becomes clear.
5. In a medium pot, combine rice, coconut milk, sugar and salt. Bring to a boil. Cover and simmer over medium heat for 30 mins until rice becomes tender and sticky. Remove from heat, cool to room temperature.
6. For the modelling chocolate, transfer onto wax paper. Roll it into a rectangle (about 13'' x 6'') - it should be at least 2mm thick to avoid breaking the dough.


7. Spread half of the coconut rice onto the chocolate modelling chocolate. Leaving about 1/2-inch both upper and lower end of the chocolate uncovered. Place slices of figs and strawberries on top, near the bottom edge of the coconut rice.


8. To roll, lift the wax paper near you and fold it over the fillings. As you roll and the wax paper reaches the surface of the chocolate, pull back the edge of the paper and continue to roll tightly until the roll id completed. Repeat steps 6 to 8 for the other modelling chocolate.

9. Cool both rolls in the fridge on a flat surface overnight to let the modelling chocolate set.

10. Cut chocolate sushi with a sharp knife.